How do guests confirm attendance?
Guests look up their name, choose Attending or Not attending for each person in the group, and the answers reach your dashboard.
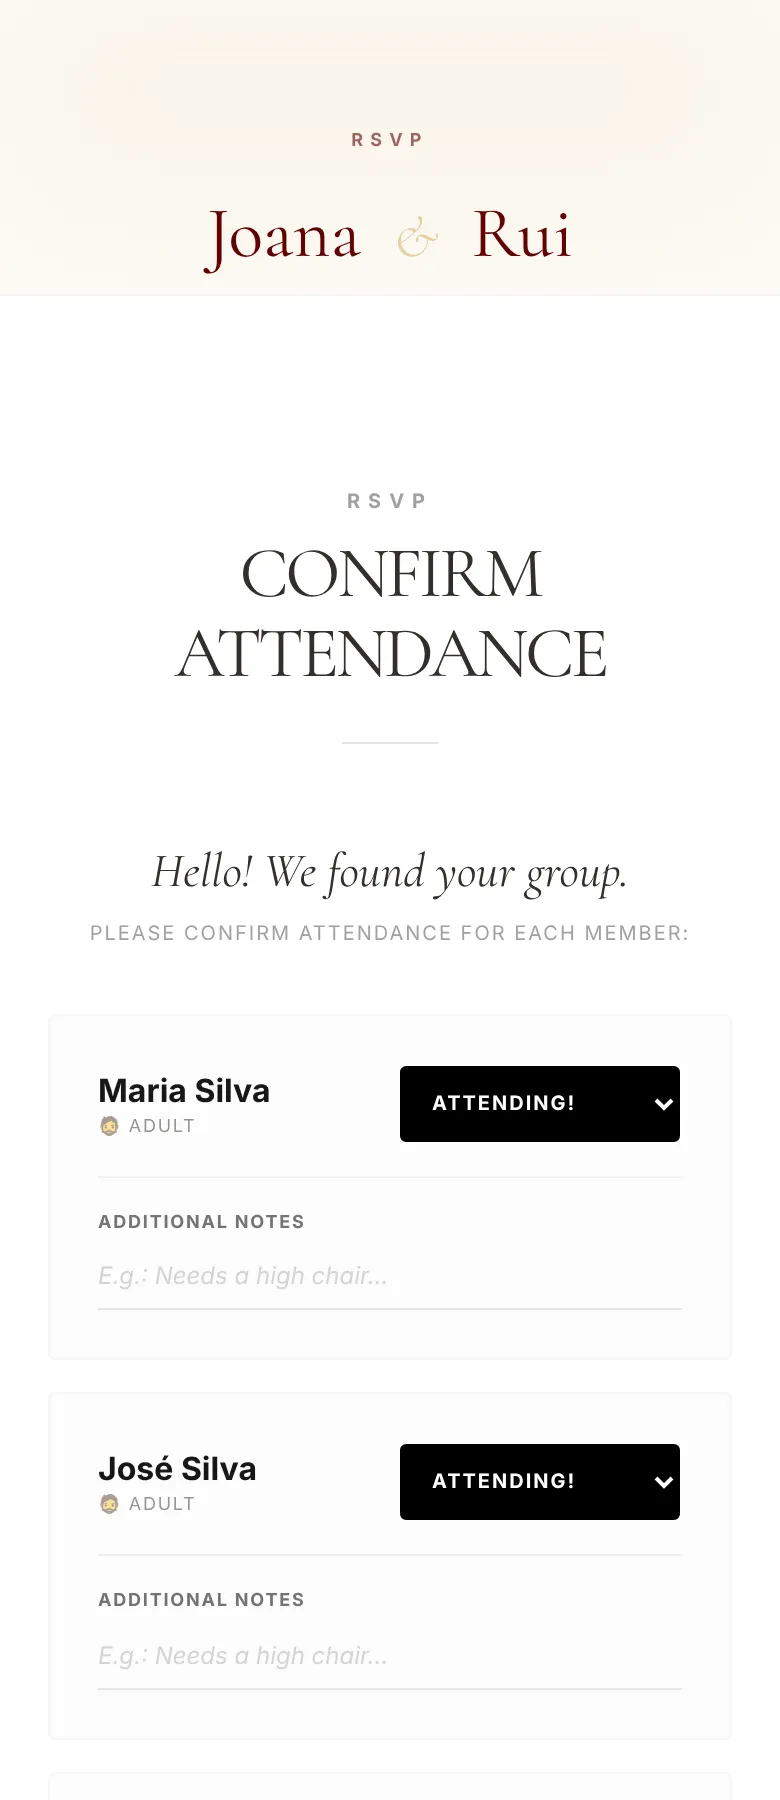
Step by step
- 1
Guests open the invitation and go to the confirmation section (RSVP), or use the standalone confirmation page, reached by QR code.
- 2
They type their name (3 letters or more) and pick themselves from the list.
- 3
They see the whole group and, for each person, choose Attending! or Not attending. Those attending can pick dietary restrictions (from the options you set) and leave notes.
- 4
The answers appear in Guests & tables › Guests, with the status Confirmed or Declined.
- 5
Anyone who can't find their name can request access. Requests appear under Access Requests, where you can Approve (the person joins the list) or Dismiss.
Tips
- The QR code for the standalone confirmation page is in Guests and in Links & QR codes. It's ideal for a printed invitation.
- So guests don't have to look up their name, create personalised links.
- To chase guests who haven't answered, use Remind who's missing in Personalised links: it gives you a ready message per group.
- The dietary restrictions guests can pick are the ones under RSVP options (Dietary), in Tools, Dietary options and sides, on the guest list. With no options, the RSVP doesn't ask. There are Suggestions to add in one click, including those that came in with the import.
Frequently asked questions
Can guests change their answer?
Yes. After saving, a Change responses button appears. They can also reopen the RSVP later.
Do I need the Invitation module to use the RSVP?
The standalone confirmation page only needs Guests & tables. Inside the invitation, the confirmation is part of it.